Do you know that images’ large file size is one of the most common reasons for poor website performance? Yep, that’s true! That’s the reason why in today’s article, we are going to share with you some handy tips on how to optimize images for website speed and SEO. Let’s check it out right now!
- Bandwidth hogging: Top things eating up a lot of internet bandwidth
- How to Speed Test Without App?
- Test upload speed: What upload speed do I need for live streaming?
There is no doubt that your website tends to be much less attractive without images and graphics. Though images are one of the fundamental elements in today’s websites, having too many large file-size images is one of the major causes of slow loading websites.

Optimizing images is one of the essential practices to remain ideal page load time for SEO and user experience as well
So, what should we do to ensure website performance while adding quality images to the site? The solution here is to perform image optimization practices. Keep reading on to know how to optimize images for website speed and SEO as well. But first, it’s better to spend a few minutes learning what image optimization is and what the benefits this practice offer, right?
See also:
- Website loading speed test: Top reasons for slow loading websites (P1)
- Website loading speed test: Top reasons for slow loading websites (P2)
What is image optimization?
Generally speaking, image optimization is the process of decreasing images’ file size as much as without reducing the overall image quality. The goal here is to reduce the time it takes to load the content of the site so that your page load times remain low.
Optimizing images is one of the essential practices to remain ideal page load time for SEO and user experience as well. Though it might sound complex, perform optimization practice quite easy these days. Of course, we will learn more about how to optimize images for website speed in the third part of this writing.

Too many large file-size images can slow down a website’s loading speed
The benefits of image optimization: What they are?
It’s not a coincidence that image optimization is considered something that web owners have to do if they want to provide visitors with a great user experience. Here are the top benefits of optimizing images that you should know.
-
Better performance. Do you know that images take up an average of 21 percent of a web page’s total weight, according to the HTTP archive? That means optimizing images is the most efficient way to make your site lighter. And when your site becomes lighter, loading speed also gets improved. If a site without image optimization might take several seconds to load, then these can become less than a few seconds after optimizing images.
-
Better user experience. Needless to say, better website performance results in a better user experience. We all know that if the users have to wait too long for your content to fully load, even the most patient ones will also get tired and tend to abandon the site before getting to see it and performing any actions. That’s why we need to discuss how to optimize images for website speed here.

Optimizing images is the most efficient way to make your site lighter
-
Higher overall conversion rates for sales and leads. Not only does a slow website look unprofessional, but it also affects the traffic and conversion rates of the site a lot. If you want to know how considerable a difference can faster page loading speed make, then take a look at these statistical numbers. According to a study conducted by Strangeloop, a one-second delay in website loading time can result in decreases of 7 percent in sales, 11 percent in page views, and 16 percent in customer satisfaction.
-
SEO improvements. Search engines like Google have taken website load time into account when ranking a website for years. That means they like sites that load fast and tend to give them higher ranking in SERPs (search engine results pages). By optimizing images for use on websites, your site will have the chance to achieve ideal page load time for SEO.
-
Other benefits. In addition to the benefits mentioned above, optimizing images also comes with other benefits. Well, making websites lighter by optimizing images the right way will also result in faster website backups, less storage space on the server, and less bandwidth required.
Better website performance results in a better user experience
As you can see, it’s essential to speed up your website by performing website performance optimization techniques, including image optimization, right? But how to do that? Well, you don’t need to wonder how to optimize images for website speed and SEO anymore because the following are things to do to ensure the balance between the smallest file sizes and acceptable quality of the images on your websites.
Here is how to optimize images for website speed and SEO
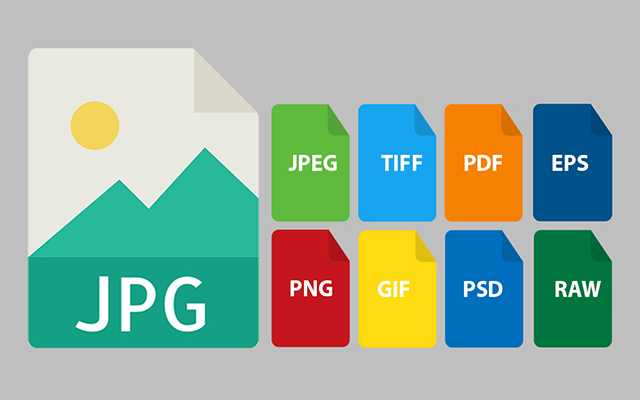
To be honest, it’s not difficult to find the balance between your images’ file size and the acceptable image quality. Three things playing a significant role in image optimization include image file format (PNG or JPG or GIF), compression, and image dimensions (height and width).
According to wpbeginner.com, just by choosing the right combination of these 3 things, we can reduce image size by 80 percent. What a surprising number! Now, it’s time for us to take a more detailed look at each one of these three.
Image file format, compression, and image dimensions all play important role in image optimization
Choose the right image file format
The first and foremost tip on how to optimize images for website speed and SEO is choosing a proper image file format.
Before starting modifying any images, it’s best to make sure that you have chosen the right file type. For most of us, JPEG, PNG, and GIF are the three most basic and common image file formats for use on the web. Selecting which one of them matters for the outcome of the image optimization process.
Of course, each one of them has its pros and cons. Understanding these is so helpful because we will know when to use which type of image properly.
How to optimize images for website speed: Before starting modifying any images, it’s best to make sure that you have chosen the right file type
≈ JPEGs. By having a huge color palette to work with, JPEG or JPG images are perfect for showing off complex photographs or images that contain a lot of colors, shadows, gradients, or complex patterns. JPEGs can be saved in low-quality, high-quality, or anywhere in between. Thanks to that, it’s easy to adjust and save the images exactly how we want to use them on the site. However, this image file format comes with a downside when it doesn’t work for images with transparent backgrounds.
≈ PNGs. Not like JPEGs, PNGs can handle transparency. That’s one of the major differentiation points between JPEGs and PNGs. However, in terms of colors, well, it seems like PNGs, especially PNG-8, is not as diverse as JPEGs. In Adobe Photoshop, we can save PNGs either as PNG-8 or PNG-24. PNG-8 comes with a very limited color palette of just 256 colors and won’t be a good option for complex photographs and images, while PNG-24 offers more colors with much higher-quality images. But the image file size of PNG-8 is always much smaller as compared to PNG-24’s.
≈ GIFs. GIFs are a common animated image format. Quite similar to PNG-8, GIFs support just 256 colors. They are still a good choice for small image file sizes where a few colors are needed. Note that GIFs should not be used for product photos.
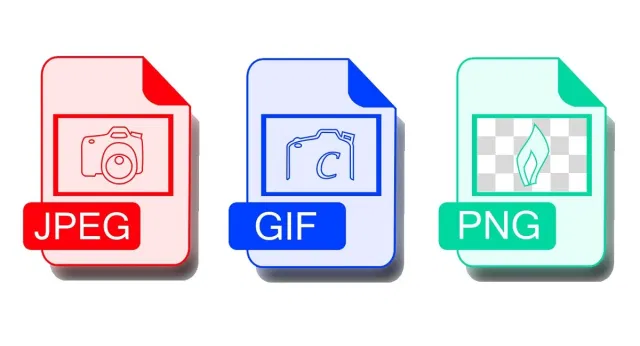
How to optimize images for website speed: For most of us, JPEG, PNG, and GIF are the three most basic image file formats for use on the web
To keep things simple, well, you might want to use JPEGs for images or photos with lots of colors, PNGs for simple ones or transparent images, and GIFs for animated ones only.
Reduce image dimensions
Of course, it’s a big mistake to not mention this tip when discussing how to optimize images for website speed One of the most useful ways to optimize images for a website is to resize them before uploading. Normally, raw images from your phone and especially a digital camera have very high resolutions and large file dimensions (width and height).
These photos often come with a resolution of 300 DPI (Dot Per Inch) and dimensions starting from 2000 pixels. Of course, they are all high-quality photos. But to be honest, they are just well-suited for print and desktop publishing. In most cases, it’s not a good idea to use them for websites.
One of the most useful ways to optimize images for a website is to resize them before uploading
That’s why reducing image dimensions to something more reasonable can help decrease the file sizes significantly. For example, let’s say you are adding images to a blog post on your site. If the ideal image dimensions for use on your website is 640x480 pixels, then you choose to upload images with dimensions of 1920x1440, for example, well all those extra pixels will increase the file size a lot. Of course, those extra pixels decrease your site loading speed one way or another without providing a real benefit.
By simply resizing the images to the sizes that you need before uploading, you will help your website load a little bit faster. That’s how to optimize images for website speed and SEO!
Now, there are lots of image-editing software that you can use to resize the image. Along with Photoshop, Paint (for Windows), Preview (for Macs), and Canva (a browser tool) are a few examples of simpler image-editing tools.
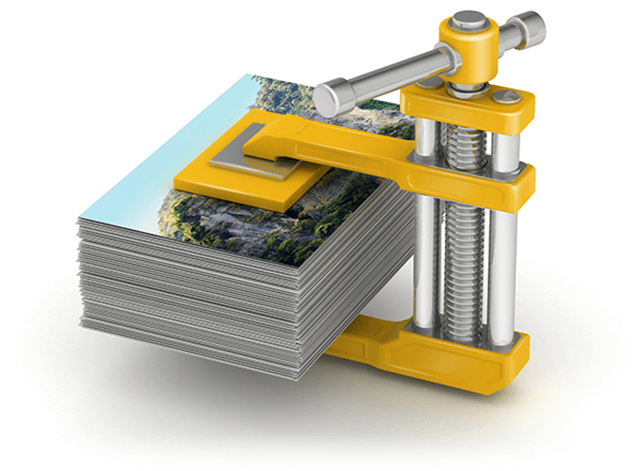
Compressing images help us reduce file sizes quite significantly without losing noticeable quality
Compression
There’s still another useful tip on how to optimize images for website speed and SEO as well. It’s image compression.
Compressing images help us reduce file sizes quite significantly without losing noticeable quality. There are 2 major types of compression: lossy and lossless. While lossy compression eliminates some elements or data of the photos (but typically in a way that our eyes won’t notice), lossless compression maintains the same level of image quality before and after the compression (but it requires the images to be uncompressed before they can be rendered).
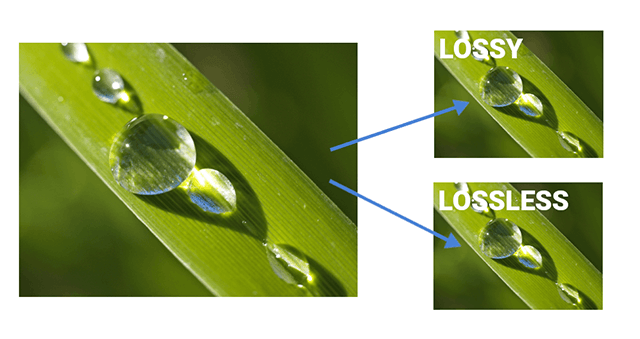
Lossy compression vs lossless compression
There are a lot of tools that you can use to compress images such as Adobe Photoshop, On1 Photo, Affinity Photo, ImageOptim, and more. Of course, it’s always best to experiment with your compression techniques to find the best possible balance without making the images look ugly.
Roundup
Recently, we have learned about how to optimize images for website speed and SEO. By choosing the right combination of these 3 things mentioned above, including the right format, the right dimensions, and compression, you will significantly reduce the file size of an image. According to wpbeginner.com, they experimented on an original image with a 1.8 MB file size, dimensions of 4900x3200 pixels, and 300 DPI resolution. By choosing the JPG format for higher compression and changing dimensions to 1200x795 pixels, the image file size is reduced to 103 KB. Wow, how amazing it is!
>> website performance optimization
Sources:
wpbeginner.com/beginners-guide/speed-wordpress-save-images-optimized-web/
kinsta.com/blog/optimize-images-for-web/
getflywheel.com/layout/optimize-images-for-web/
Photos: Internet

0 Comments
Leave a Comment
Your email address will not be published. Required fields are marked *